I Debone and Dry-Brine My Turkey. Here’s Why.

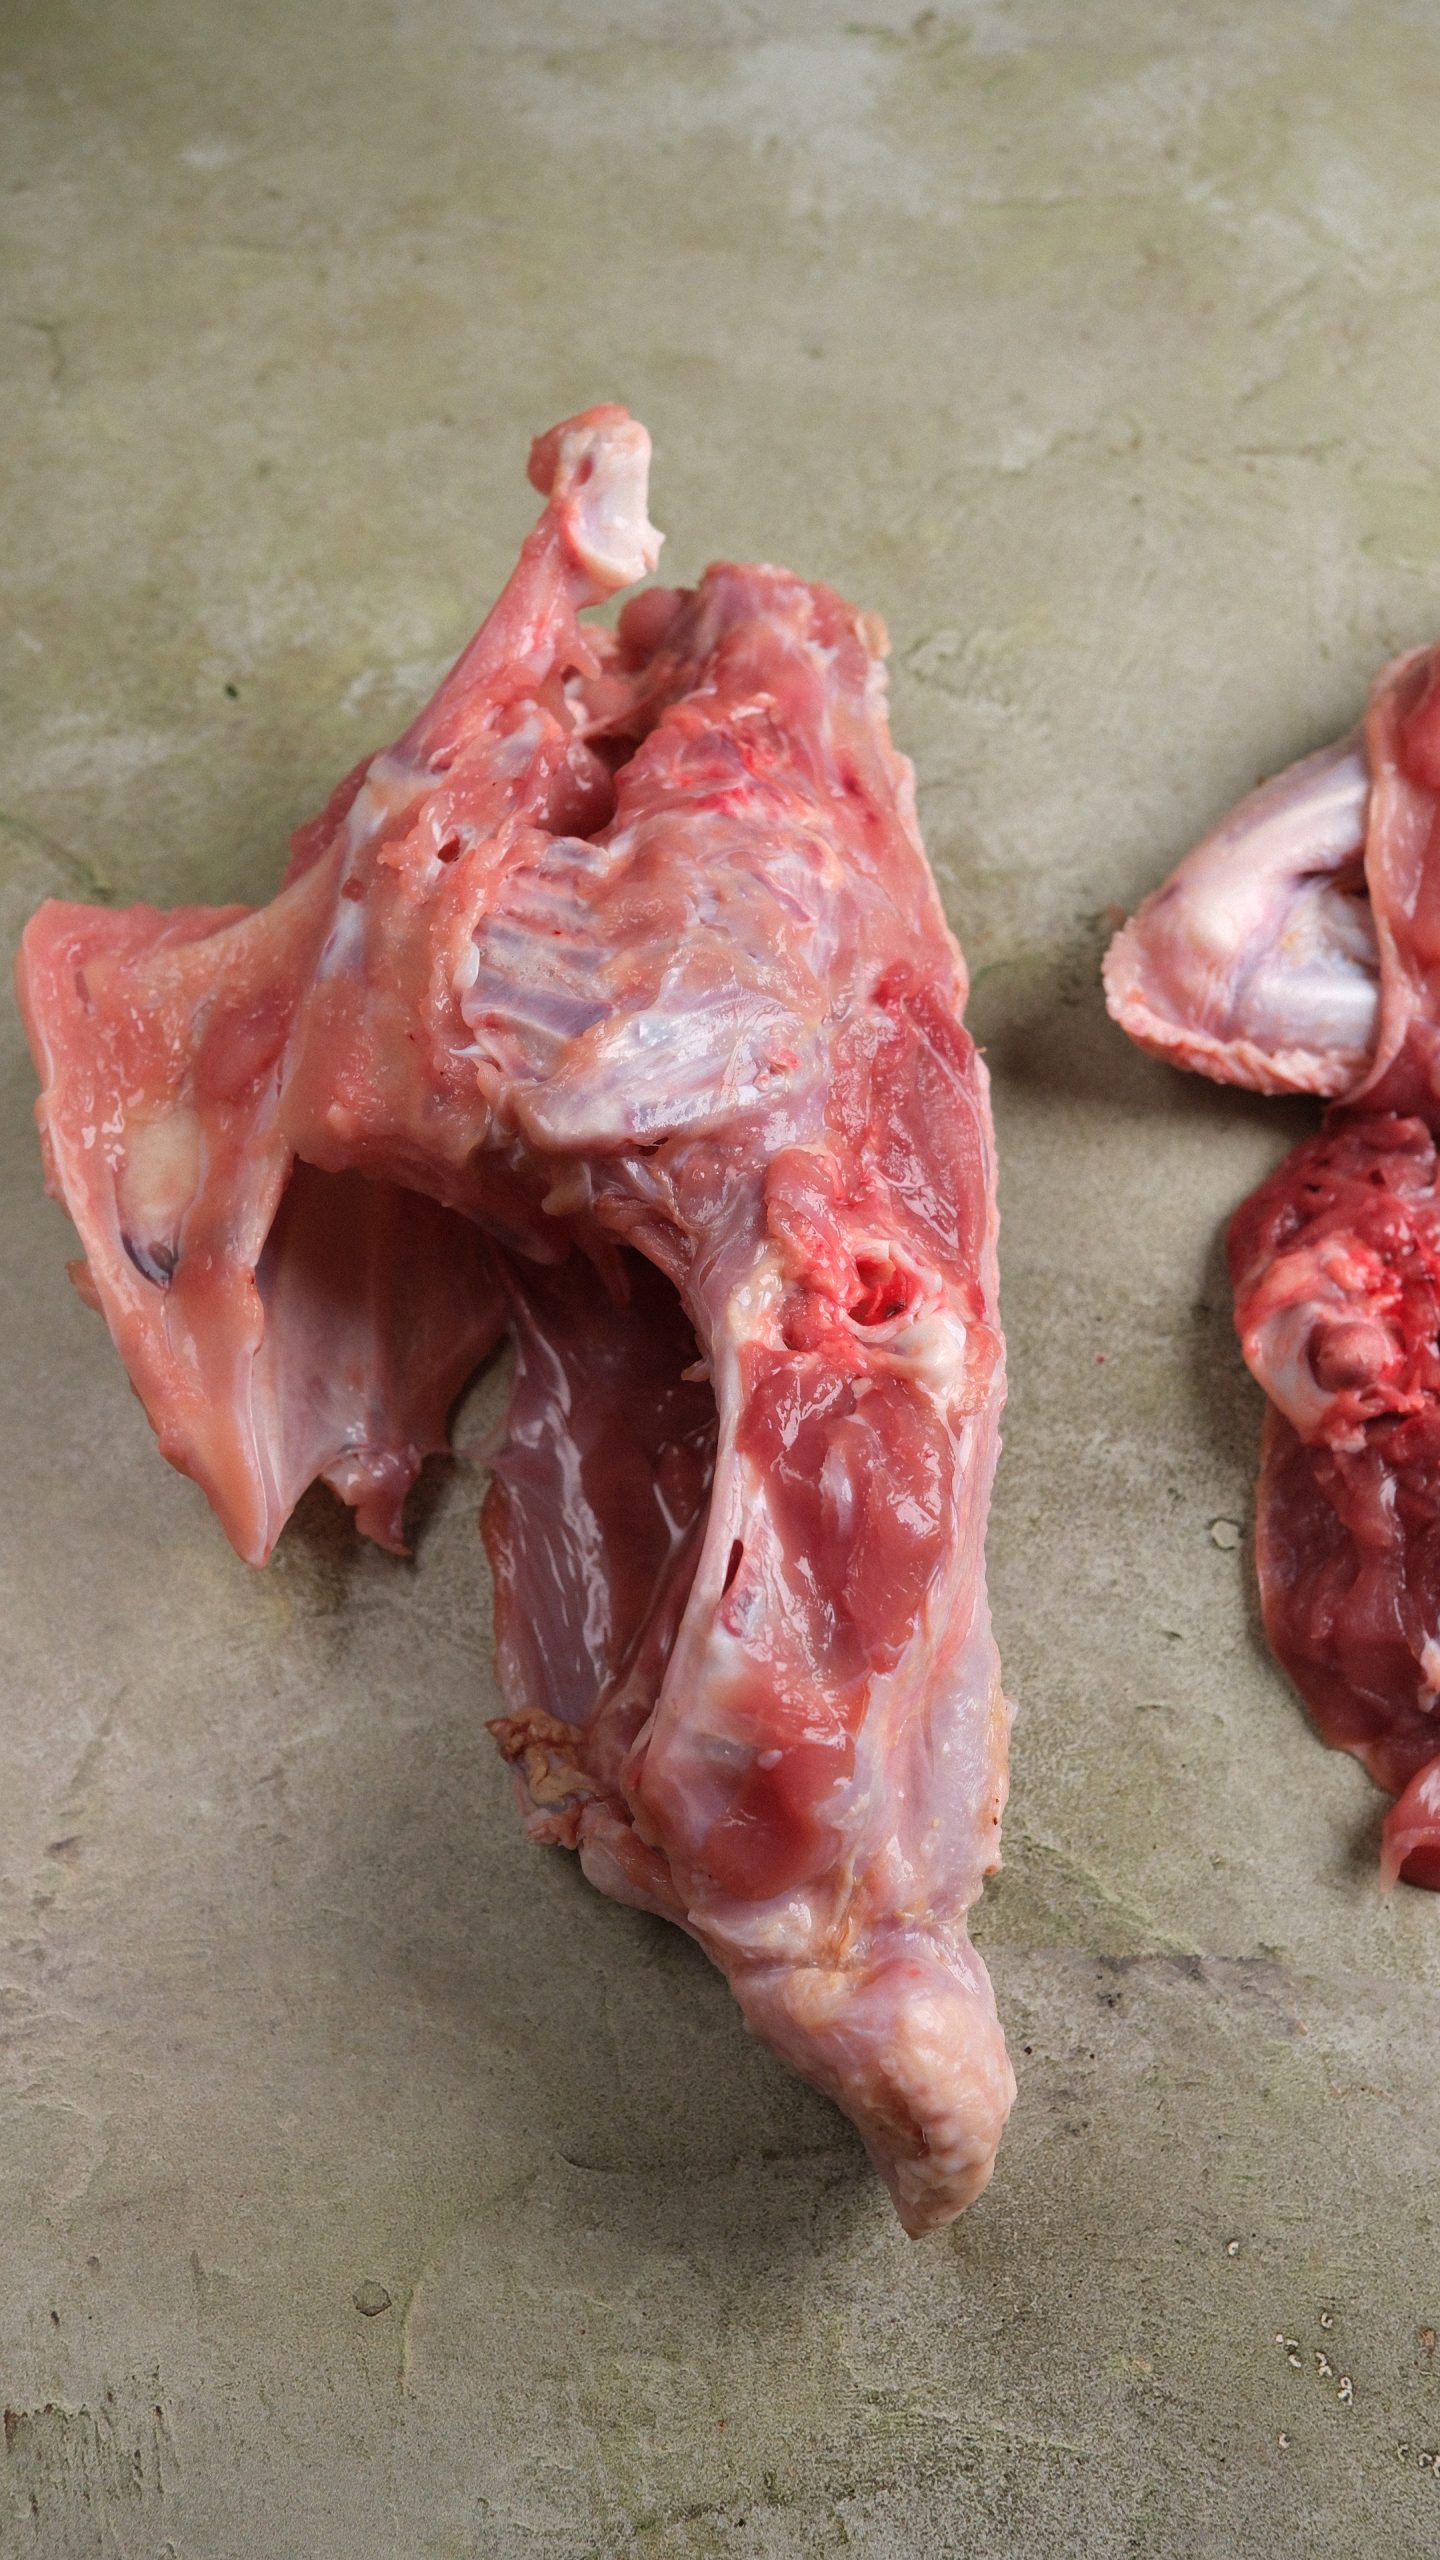
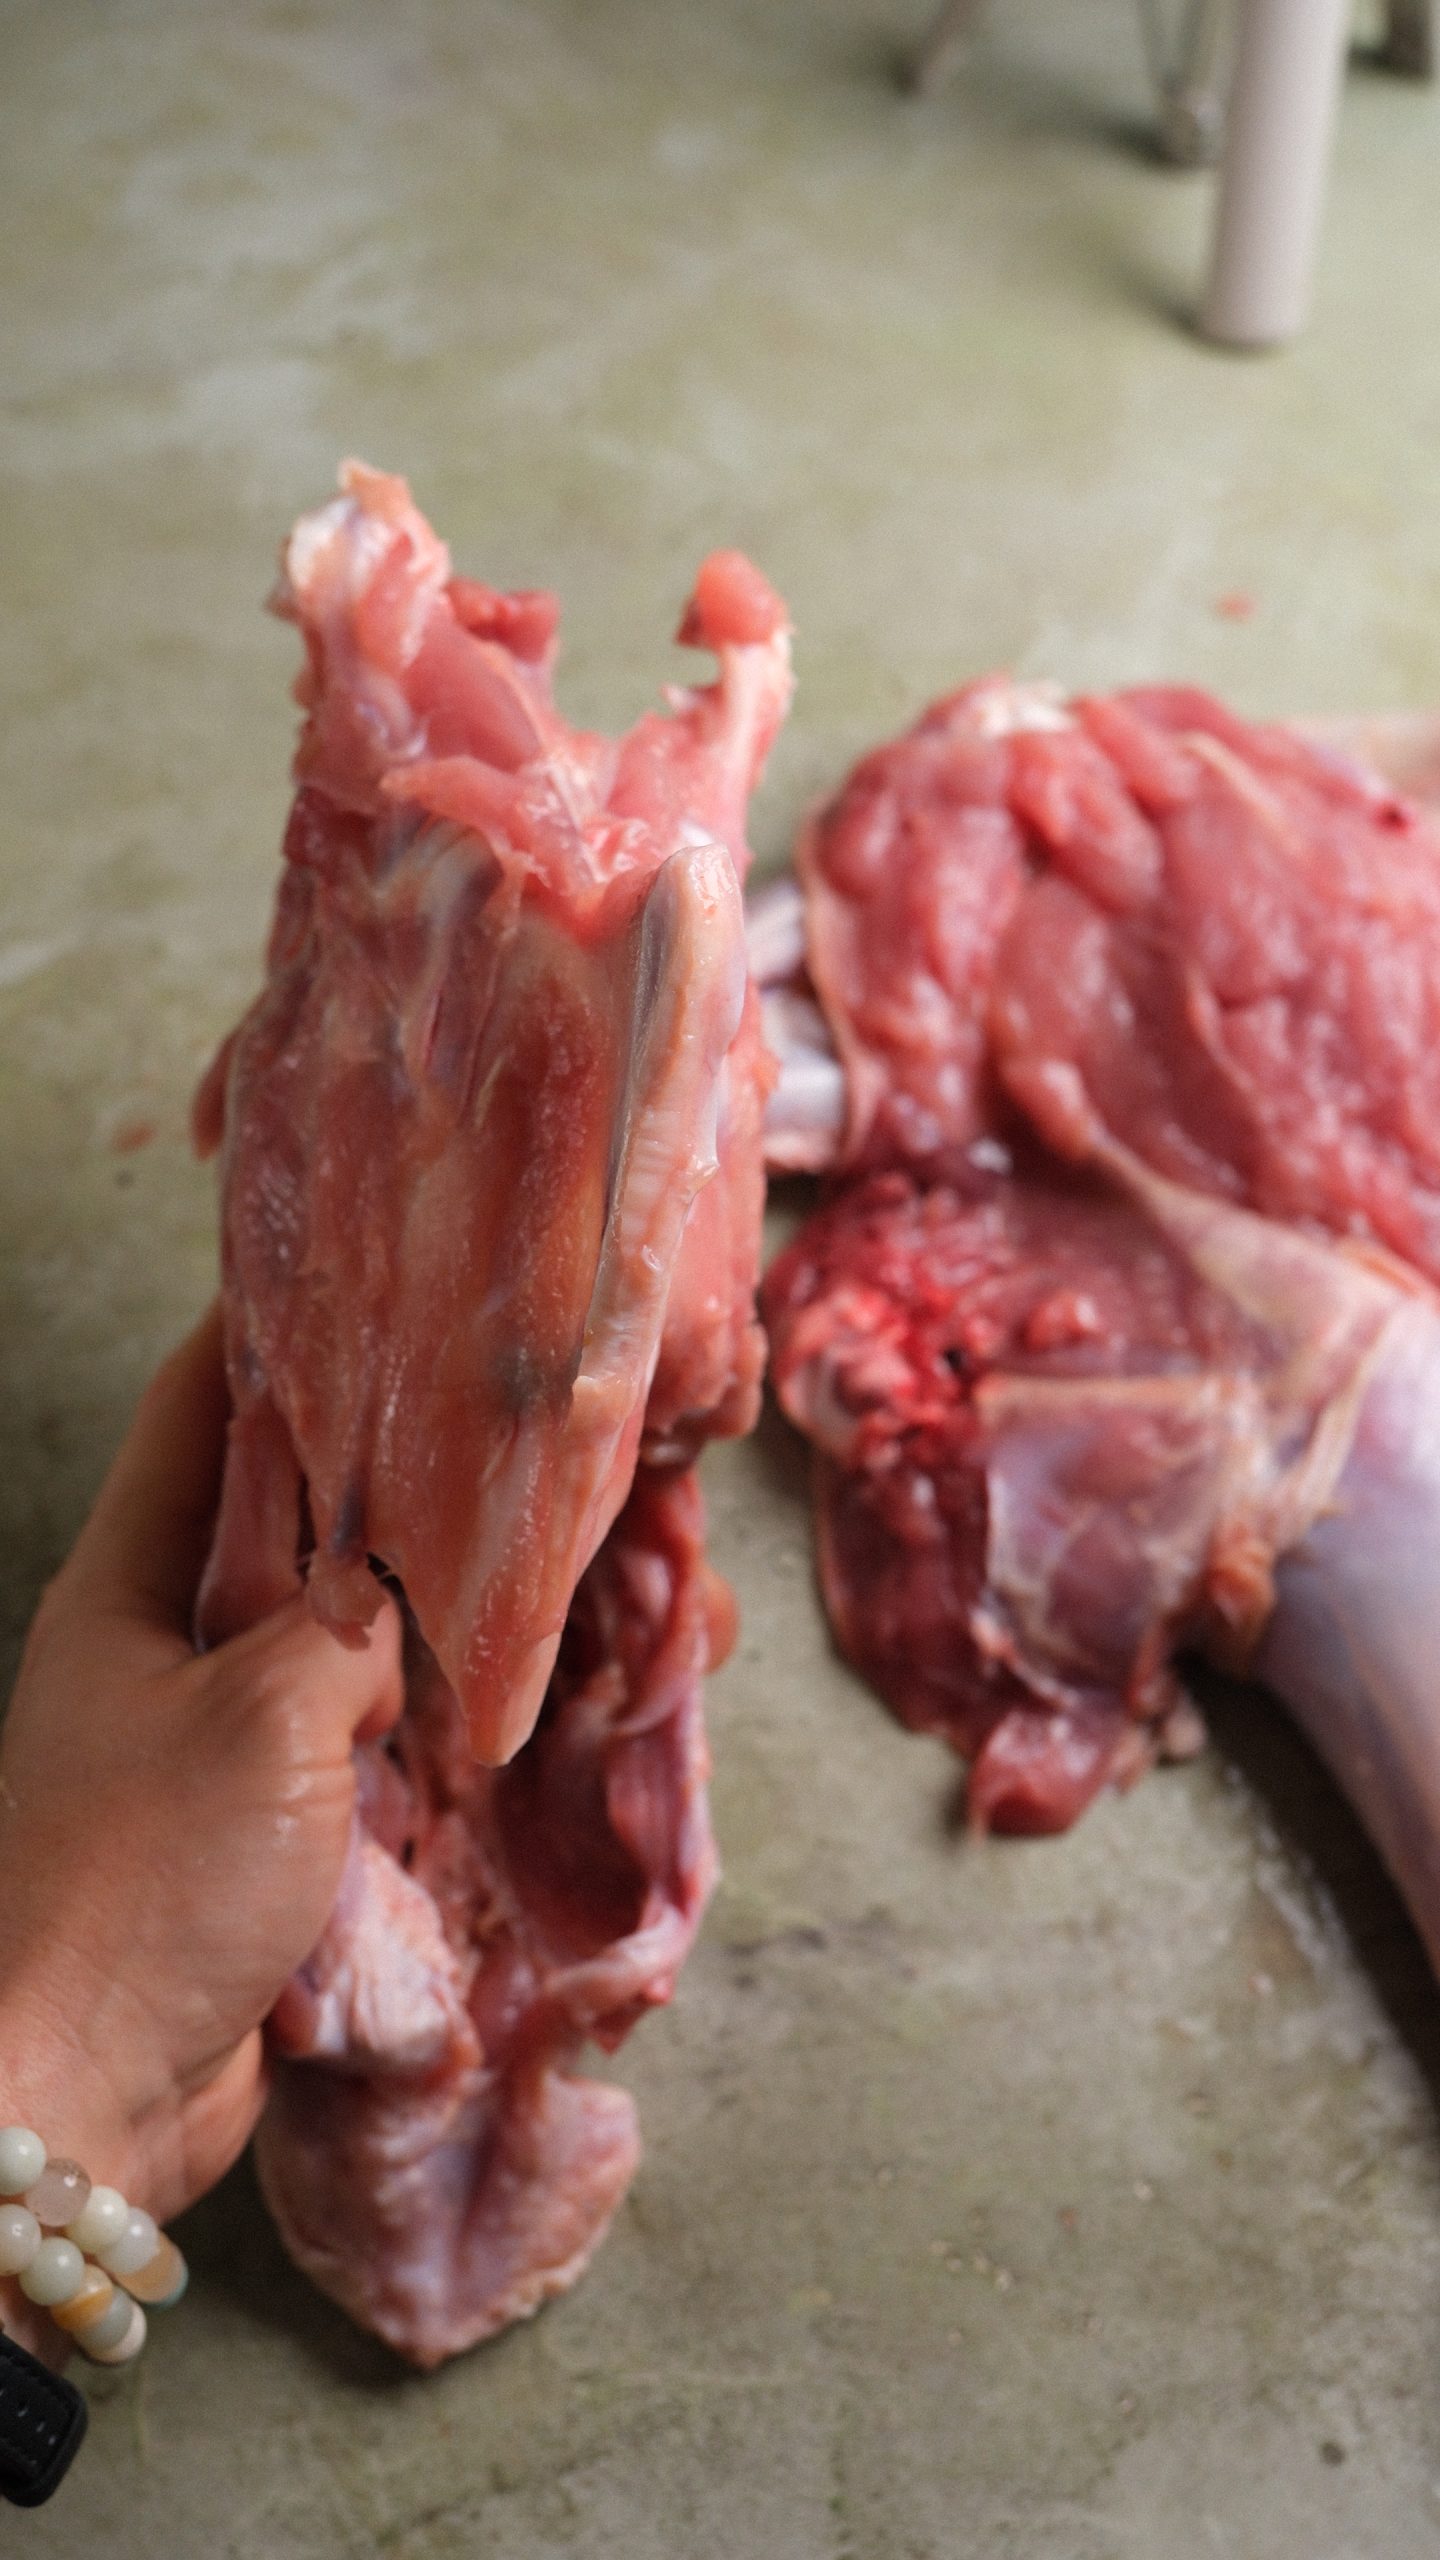
This year I am taking the whole central frame out of my turkey before I roast it. The spine, ribs, sternum, keel, shoulder girdle and pelvic frame come out together. Only the bones inside the wings and legs stay with the bird.
Once opened, the turkey lies almost flat on the pan. There is no hollow cavity and no high breast rising above the thighs. That shape is the point. The breast and dark meat roast on a more even plane, the skin has room to dry, and the finished bird is much easier to carve without leaving pockets of meat on the rib cage.
I chose a small young turkey. The meat is more delicate, and the bird is easier to handle during deboning. If I were feeding a larger crowd, I would roast two young birds instead of buying one very large turkey.
How this differs from spatchcocking
In a spatchcocked turkey, the backbone is usually cut away and the breastbone is pressed until the bird opens flat. Here, I leave the skin, breast, wings and legs connected while I work the meat away from the entire central frame. I release the hip and shoulder joints, then remove the spine, ribs, pelvis, shoulder girdle and sternum together.
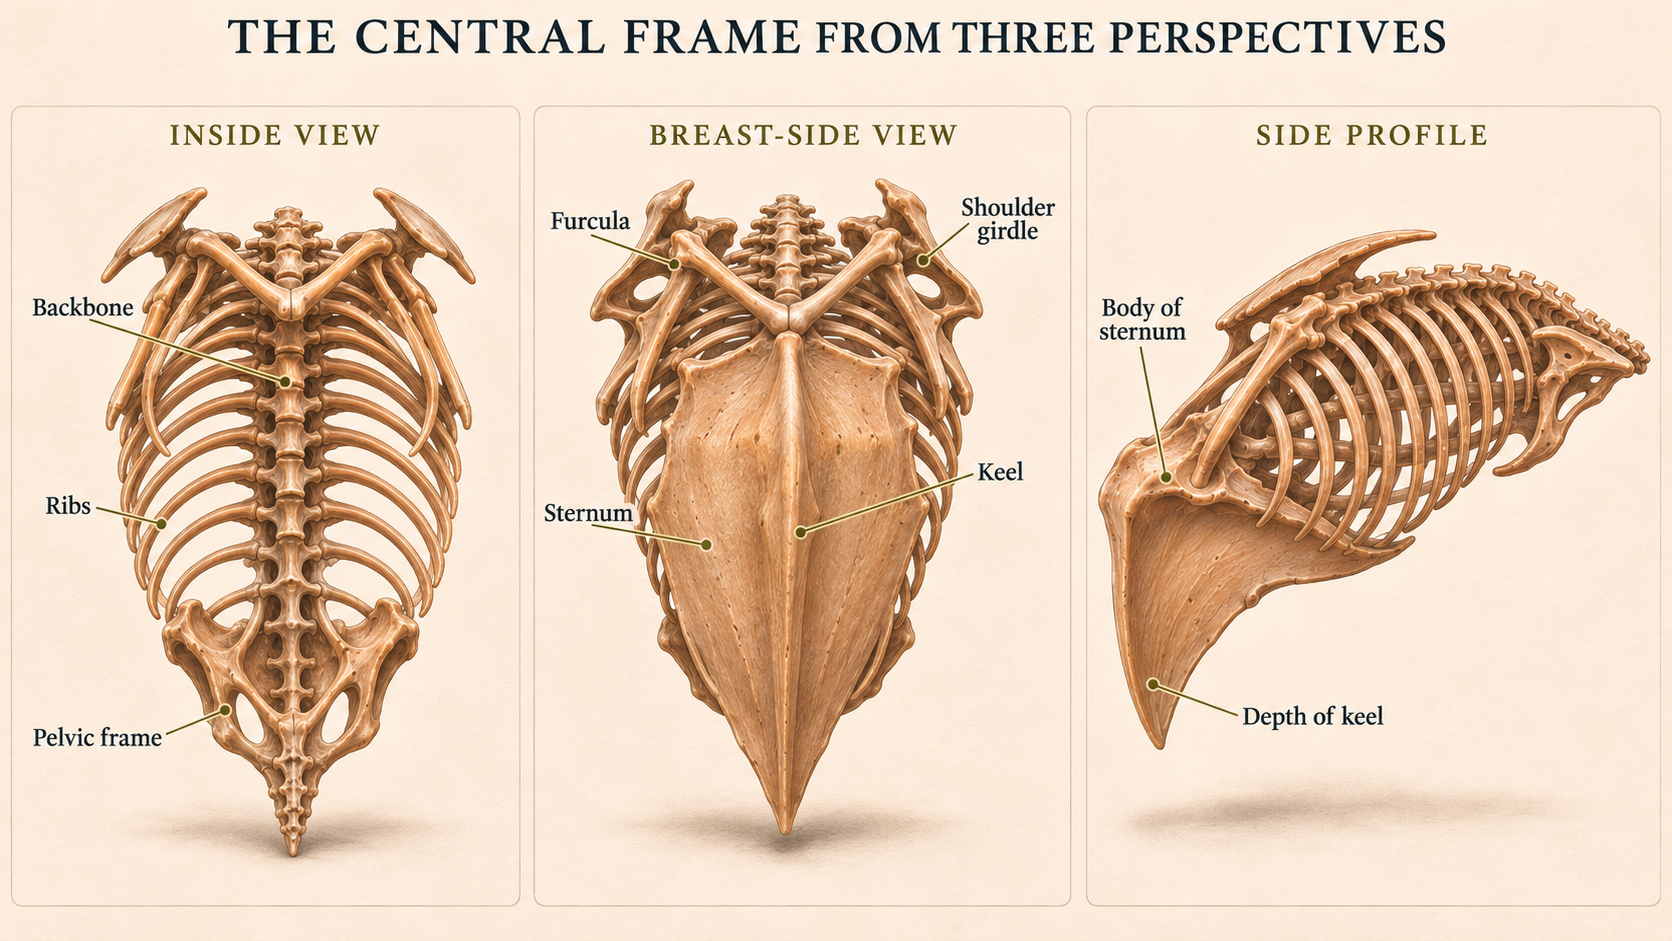
The central frame includes the vertebral column, ribs, sternum and its keel, the furcula or wishbone, the coracoids and scapulae of the shoulder girdle, and the pelvic bones around the hips. The furcula is formed by the turkey’s two fused clavicles. The keel is the deep ridge of the sternum where the breast muscles attach.

Why I prepare the turkey this way
- The bird is flatter. Heat has a shorter path to the thickest meat, and the breasts and thighs are no longer arranged around an empty cavity.
- The roasting should be faster and more even. I still cook by temperature, because the bird’s weight, exact thickness and oven matter more than a minutes-per-pound chart.
- The dry brine reaches an open, even surface. Salt can be distributed over the meat and skin without the folds of a whole bird.
- The skin dries uncovered. A full day in the refrigerator leaves the surface dry to the touch, which helps it brown during roasting.
- Carving is cleaner. At the table, there is no rib cage to cut around. The boneless breast meat can be sliced neatly, while the legs and wings separate at their joints.
- The carcass can become rich gravy before dinner. Instead of tossing it after the meal, I can brown the removed frame and simmer it into a concentrated stock while the turkey dry-brines. The gravy can be deeply flavored and nearly finished before the bird goes into the oven.
The extra work happens the day before, when the kitchen is still calm. On serving day, the turkey needs seasoning, roasting and resting. The tradeoff is that partial deboning takes a sharp knife, a steady work surface and close attention around the skin and the small pieces of meat near the joints.
Read the package before adding salt
My turkey was not brined, injected or packed in a seasoning solution. I checked the label before salting it. This matters. A turkey sold as self-basting, enhanced, kosher or already brined may contain enough salt that a full dry brine would make it unpleasantly salty.
If the ingredient list mentions salt, broth or an added solution, adjust the method for that specific bird or skip the additional salt. Do not judge by the front of the package alone.
How I remove the central frame
I use a sharp boning knife and make short strokes with the edge directed toward bone. The knife should scrape the frame, not cut deeply into the meat. A damp towel under the cutting board keeps the work surface from sliding.
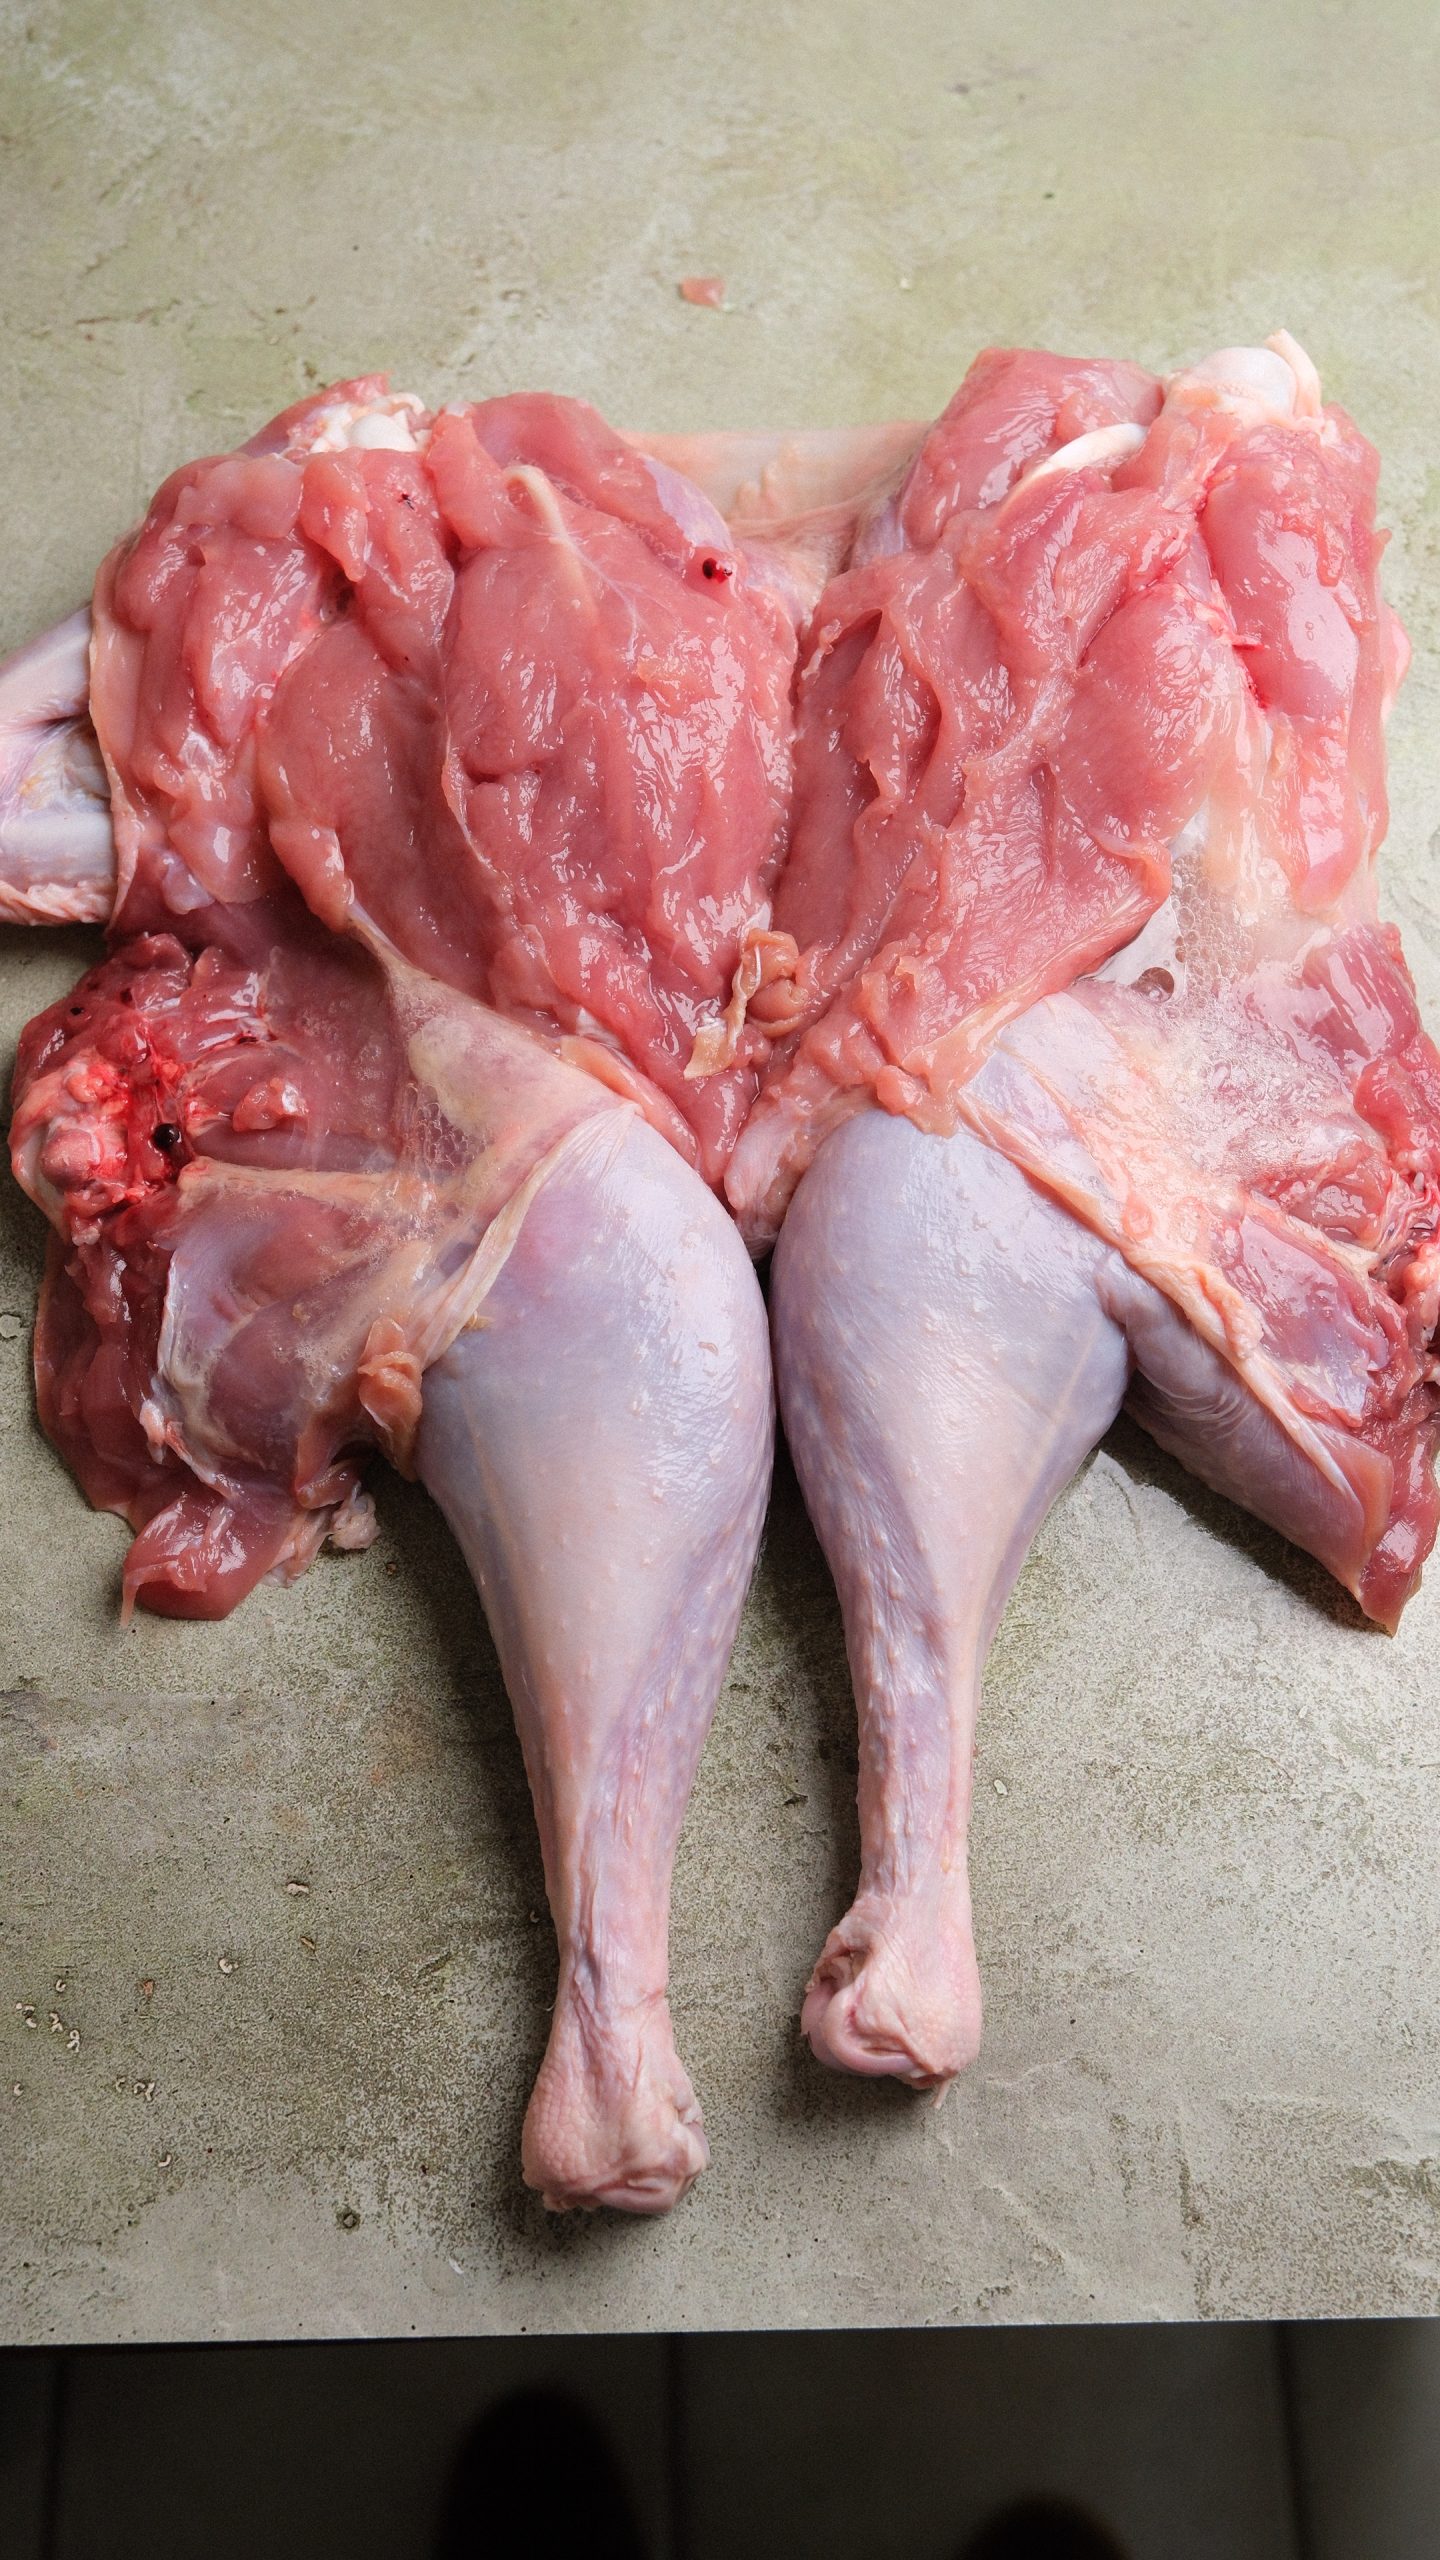
- Set the turkey breast side down. Remove the neck and giblet packet if they are inside the bird. Pat the turkey dry and place it on a stable cutting board. Do not rinse it.
- Open only the skin along the spine. With the backbone facing up, slice the skin from the neck end toward the tail. Pull the skin and meat gently to either side so you can see the frame. The incision exposes the backbone; it does not cut through it.
- Open the hip and shoulder joints. Rotate each thigh outward until the hip joint becomes easy to see, then do the same at each shoulder. Cut the taut ligaments and connective tissue at the joint lines rather than sawing through bone. The femurs stay in the legs, and the humeri stay in the wings.
- Trace one side of the rib cage. Lift and tension the meat with your free hand. Keep the knife almost flat against the frame and use short scraping strokes from the backbone outward, following the curve of each rib instead of cutting into the breast.
- Lift the oyster out of the pelvic hollow. The oyster is not part of the thigh. It sits in a shallow hollow beside the backbone, immediately in front of the hip socket. Find its edge with a fingertip, slip the knife tip beneath it, and roll the whole tender muscle away with the surrounding meat.
- Release the pelvis, sternum and keel. Continue around the hip socket, leaving the femur with the thigh. As you reach the breastbone, use shallow strokes along both sides of the keel with the blade facing bone. Keep the tip away from the breast skin.
- Free the fused clavicles and shoulder girdle. At the neck end, trace the two arms of the furcula, or wishbone, then release the coracoids and the slender scapulae. Keep the wing meat and wing bones attached to the turkey.
- Repeat and lift the frame away. Work down the second side until the carcass hinges free. Cut the final thin bands of connective tissue and lift out the spine, ribs, pelvis, shoulder girdle, sternum and keel together. Turn the turkey cavity side up and check carefully for cartilage, bone fragments and any useful meat left on the frame.
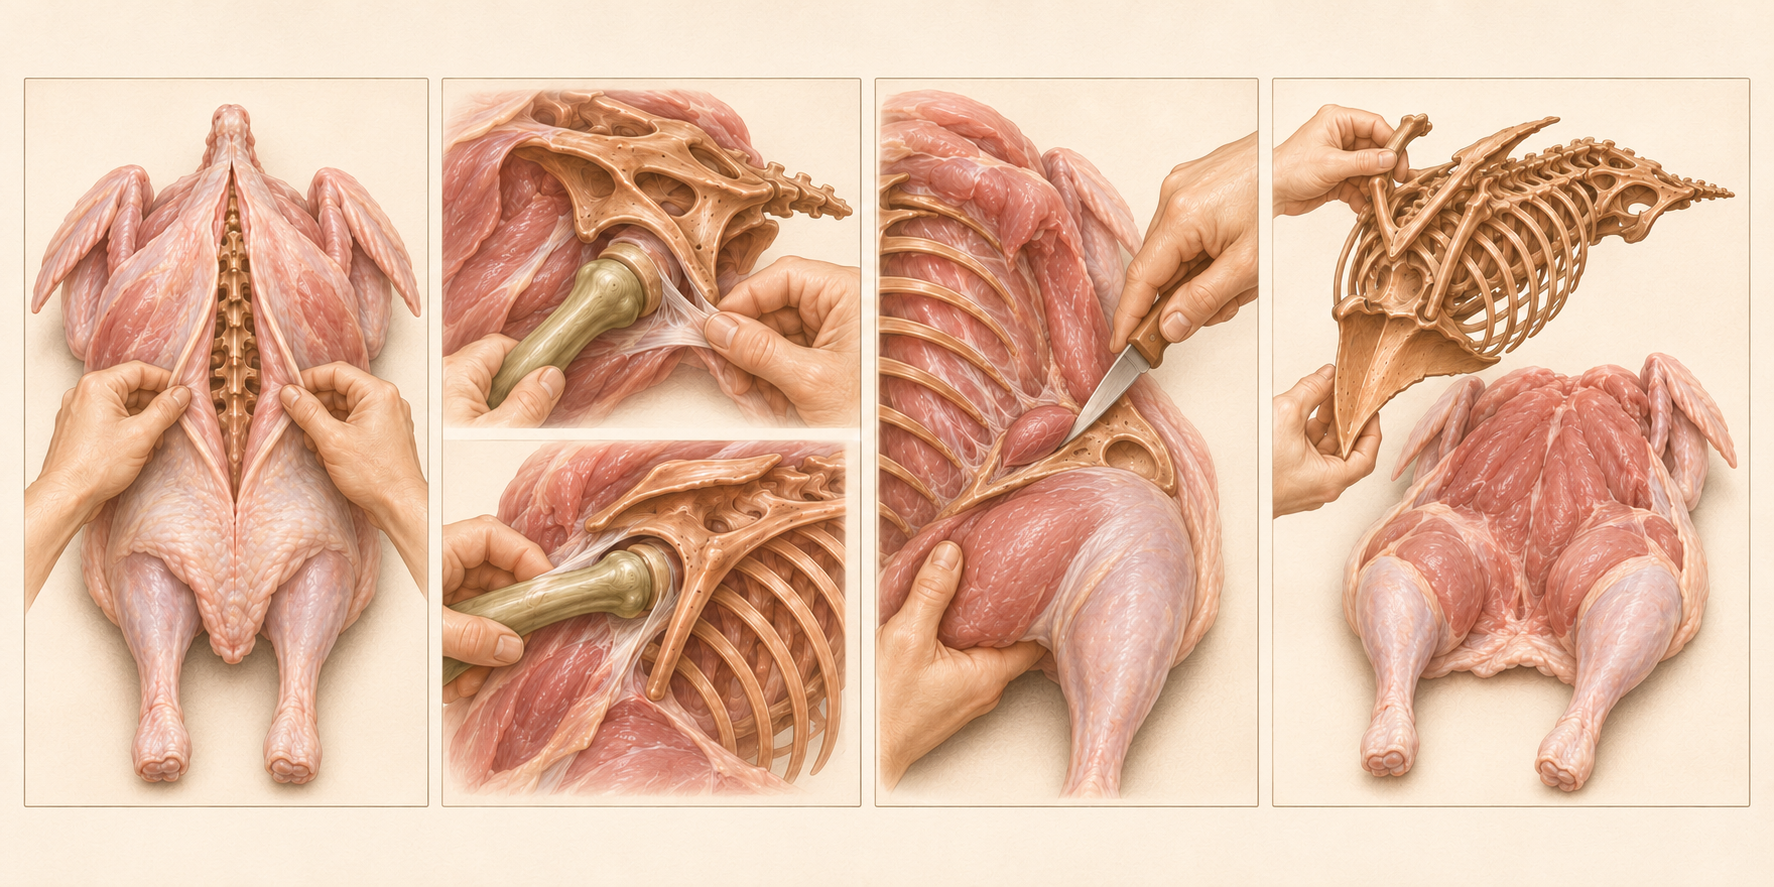
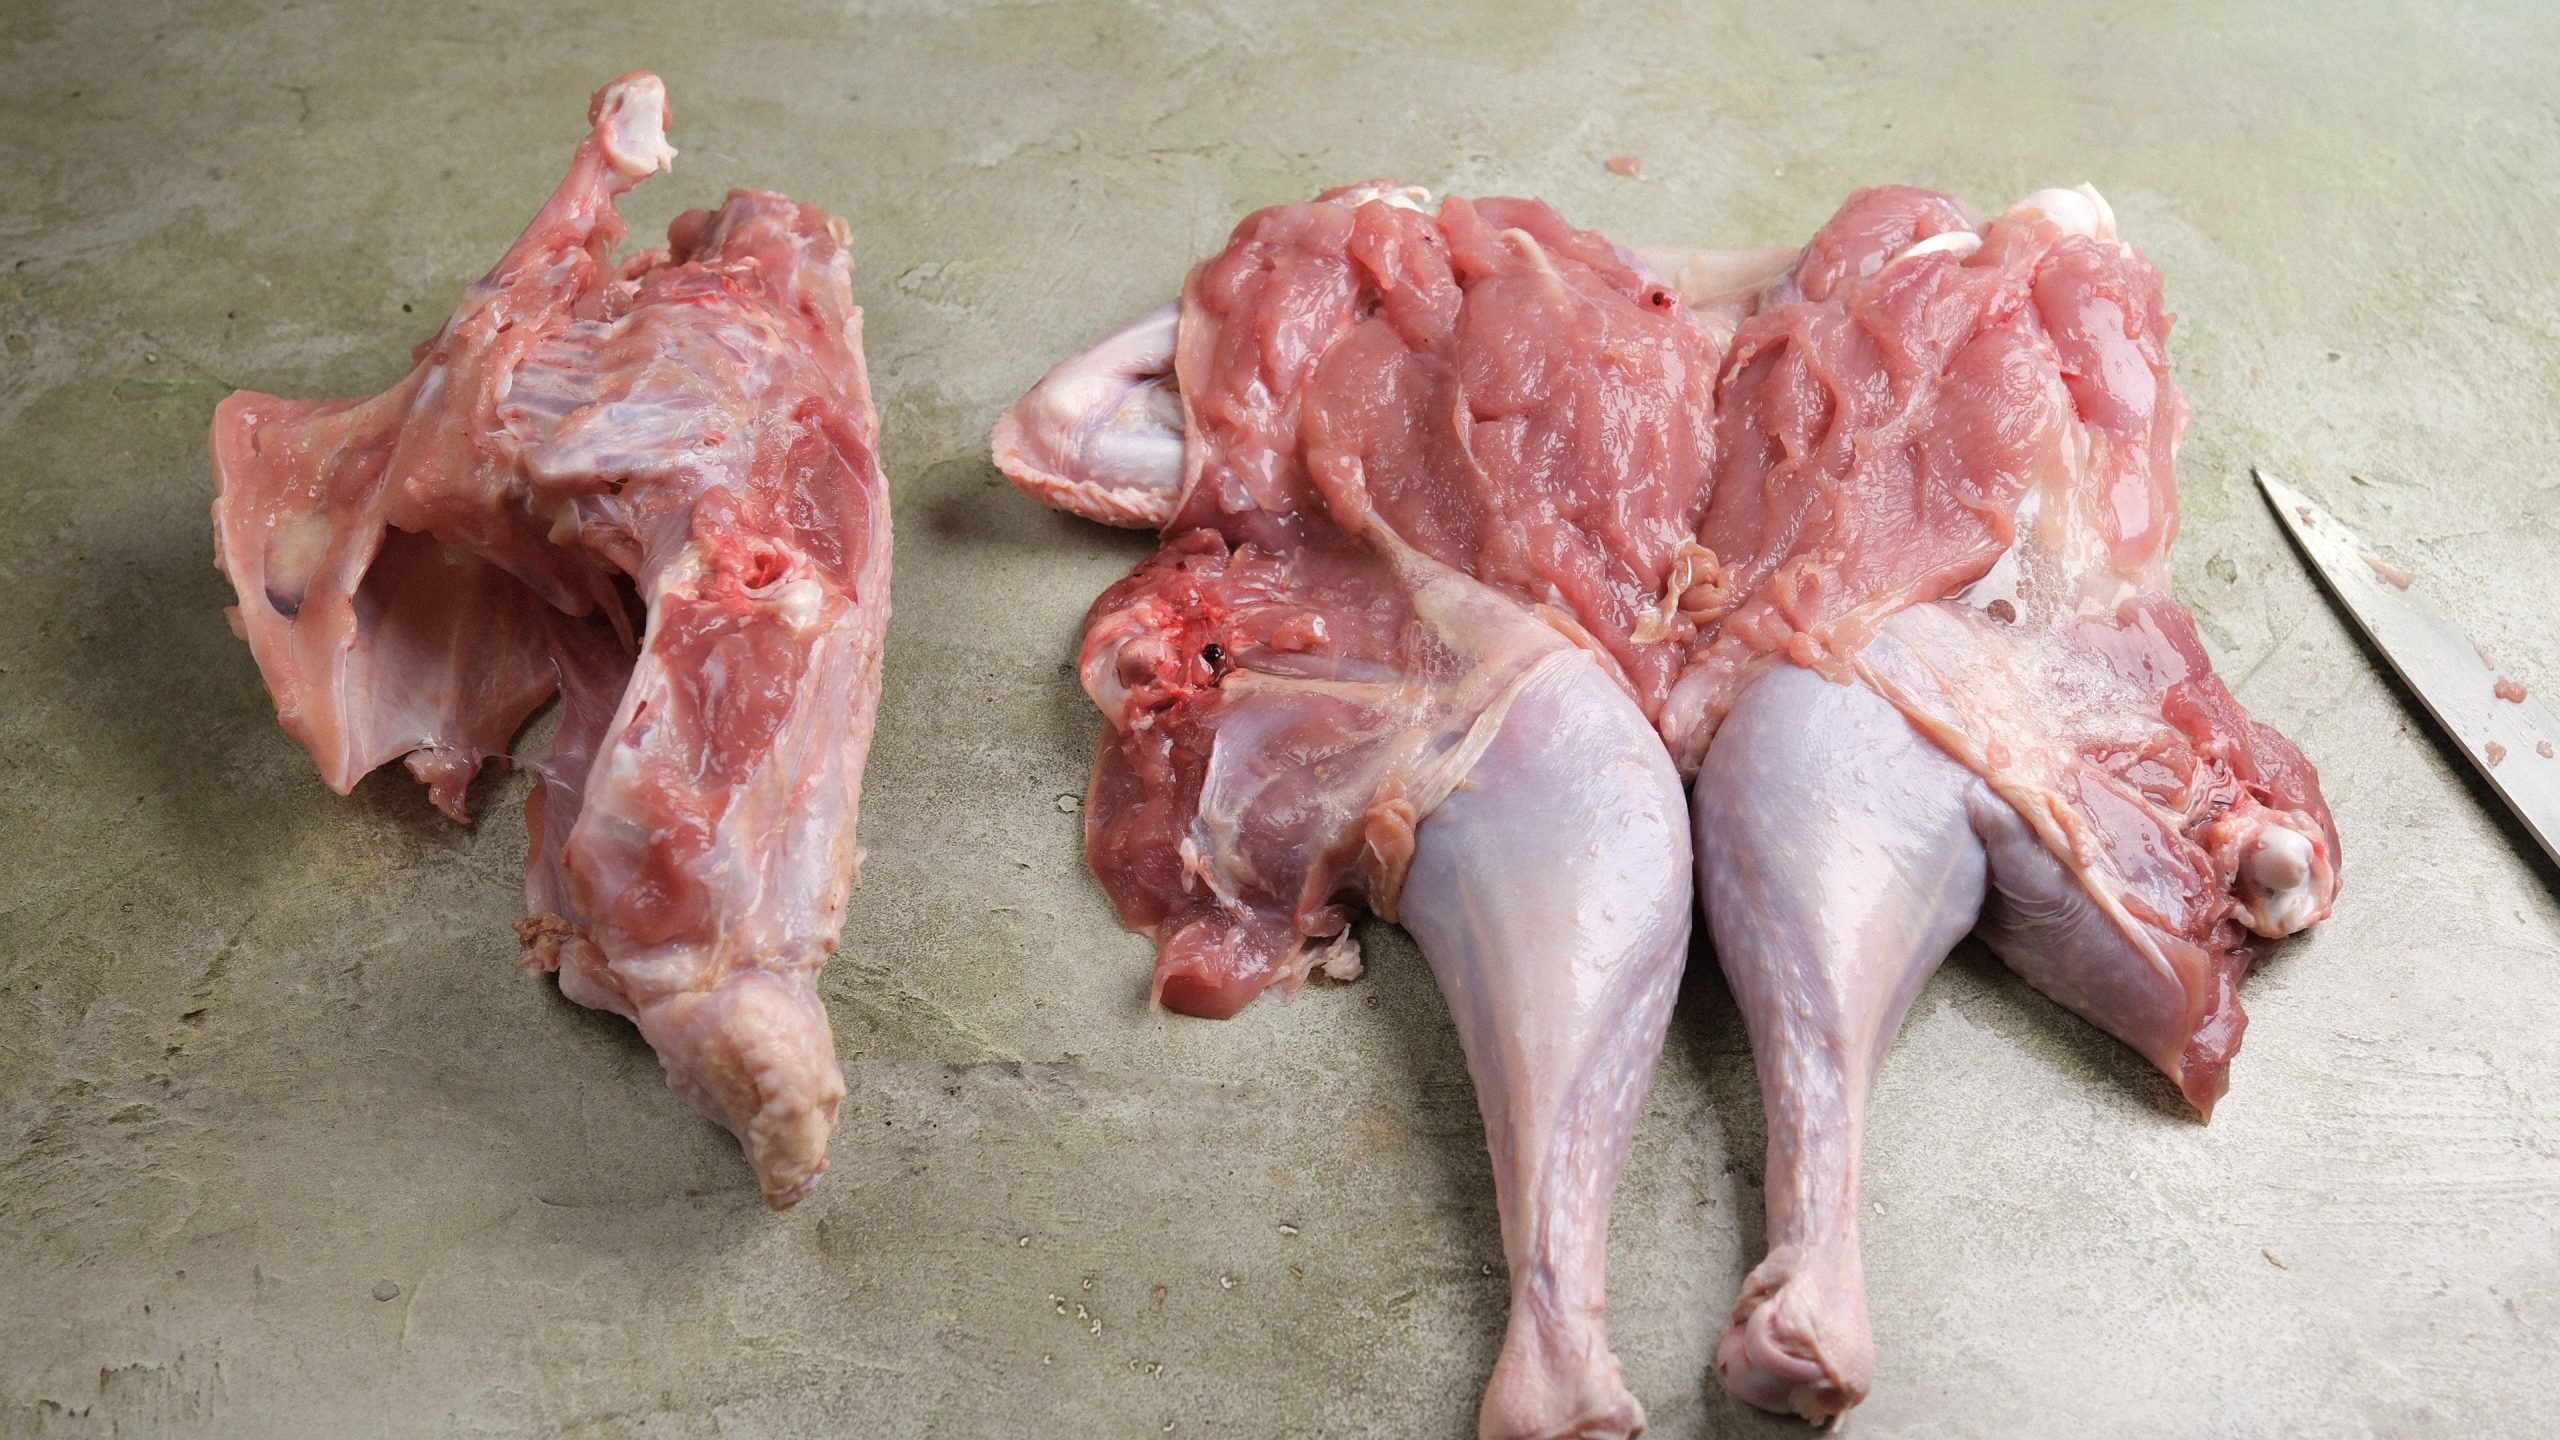
Do not leave the oysters on the frame
The oysters are the two small, tender muscles seated in shallow hollows beside the backbone near the hip sockets. They are easy to miss because they sit against the bone instead of lifting naturally with the thigh.
When I reach each hip, I stop pulling and find the edge of the oyster with my fingertips. I slide the knife beneath it with the blade almost flat, then lift the whole piece into the meat side of the turkey. If the oyster stays on the frame, one of the best bites has been left behind.
Dry brine uncovered for 24 to 48 hours
After deboning, I arrange the turkey skin side up on a rimmed sheet pan and season it with salt. My bird is young and small, so I am giving it 24 hours. A larger bird can take closer to 48 hours only if that time stays within its safe refrigerated storage limit. USDA guidance allows up to two days in the refrigerator after a turkey is purchased fresh or fully thawed, so the dry-brining time must fit inside that window.
I leave the pan uncovered in the refrigerator. At first the salt draws moisture to the surface. Given time, that seasoned moisture moves back into the meat. Meanwhile, cold circulating air dries the skin. By the next day, the surface should feel dry rather than wet or tacky.
Keep the refrigerator at 40°F (4°C) or below. Set the sheet pan where raw poultry juices cannot drip onto other food, preferably on the lowest shelf with space around it. Do not rinse off the salt before roasting.
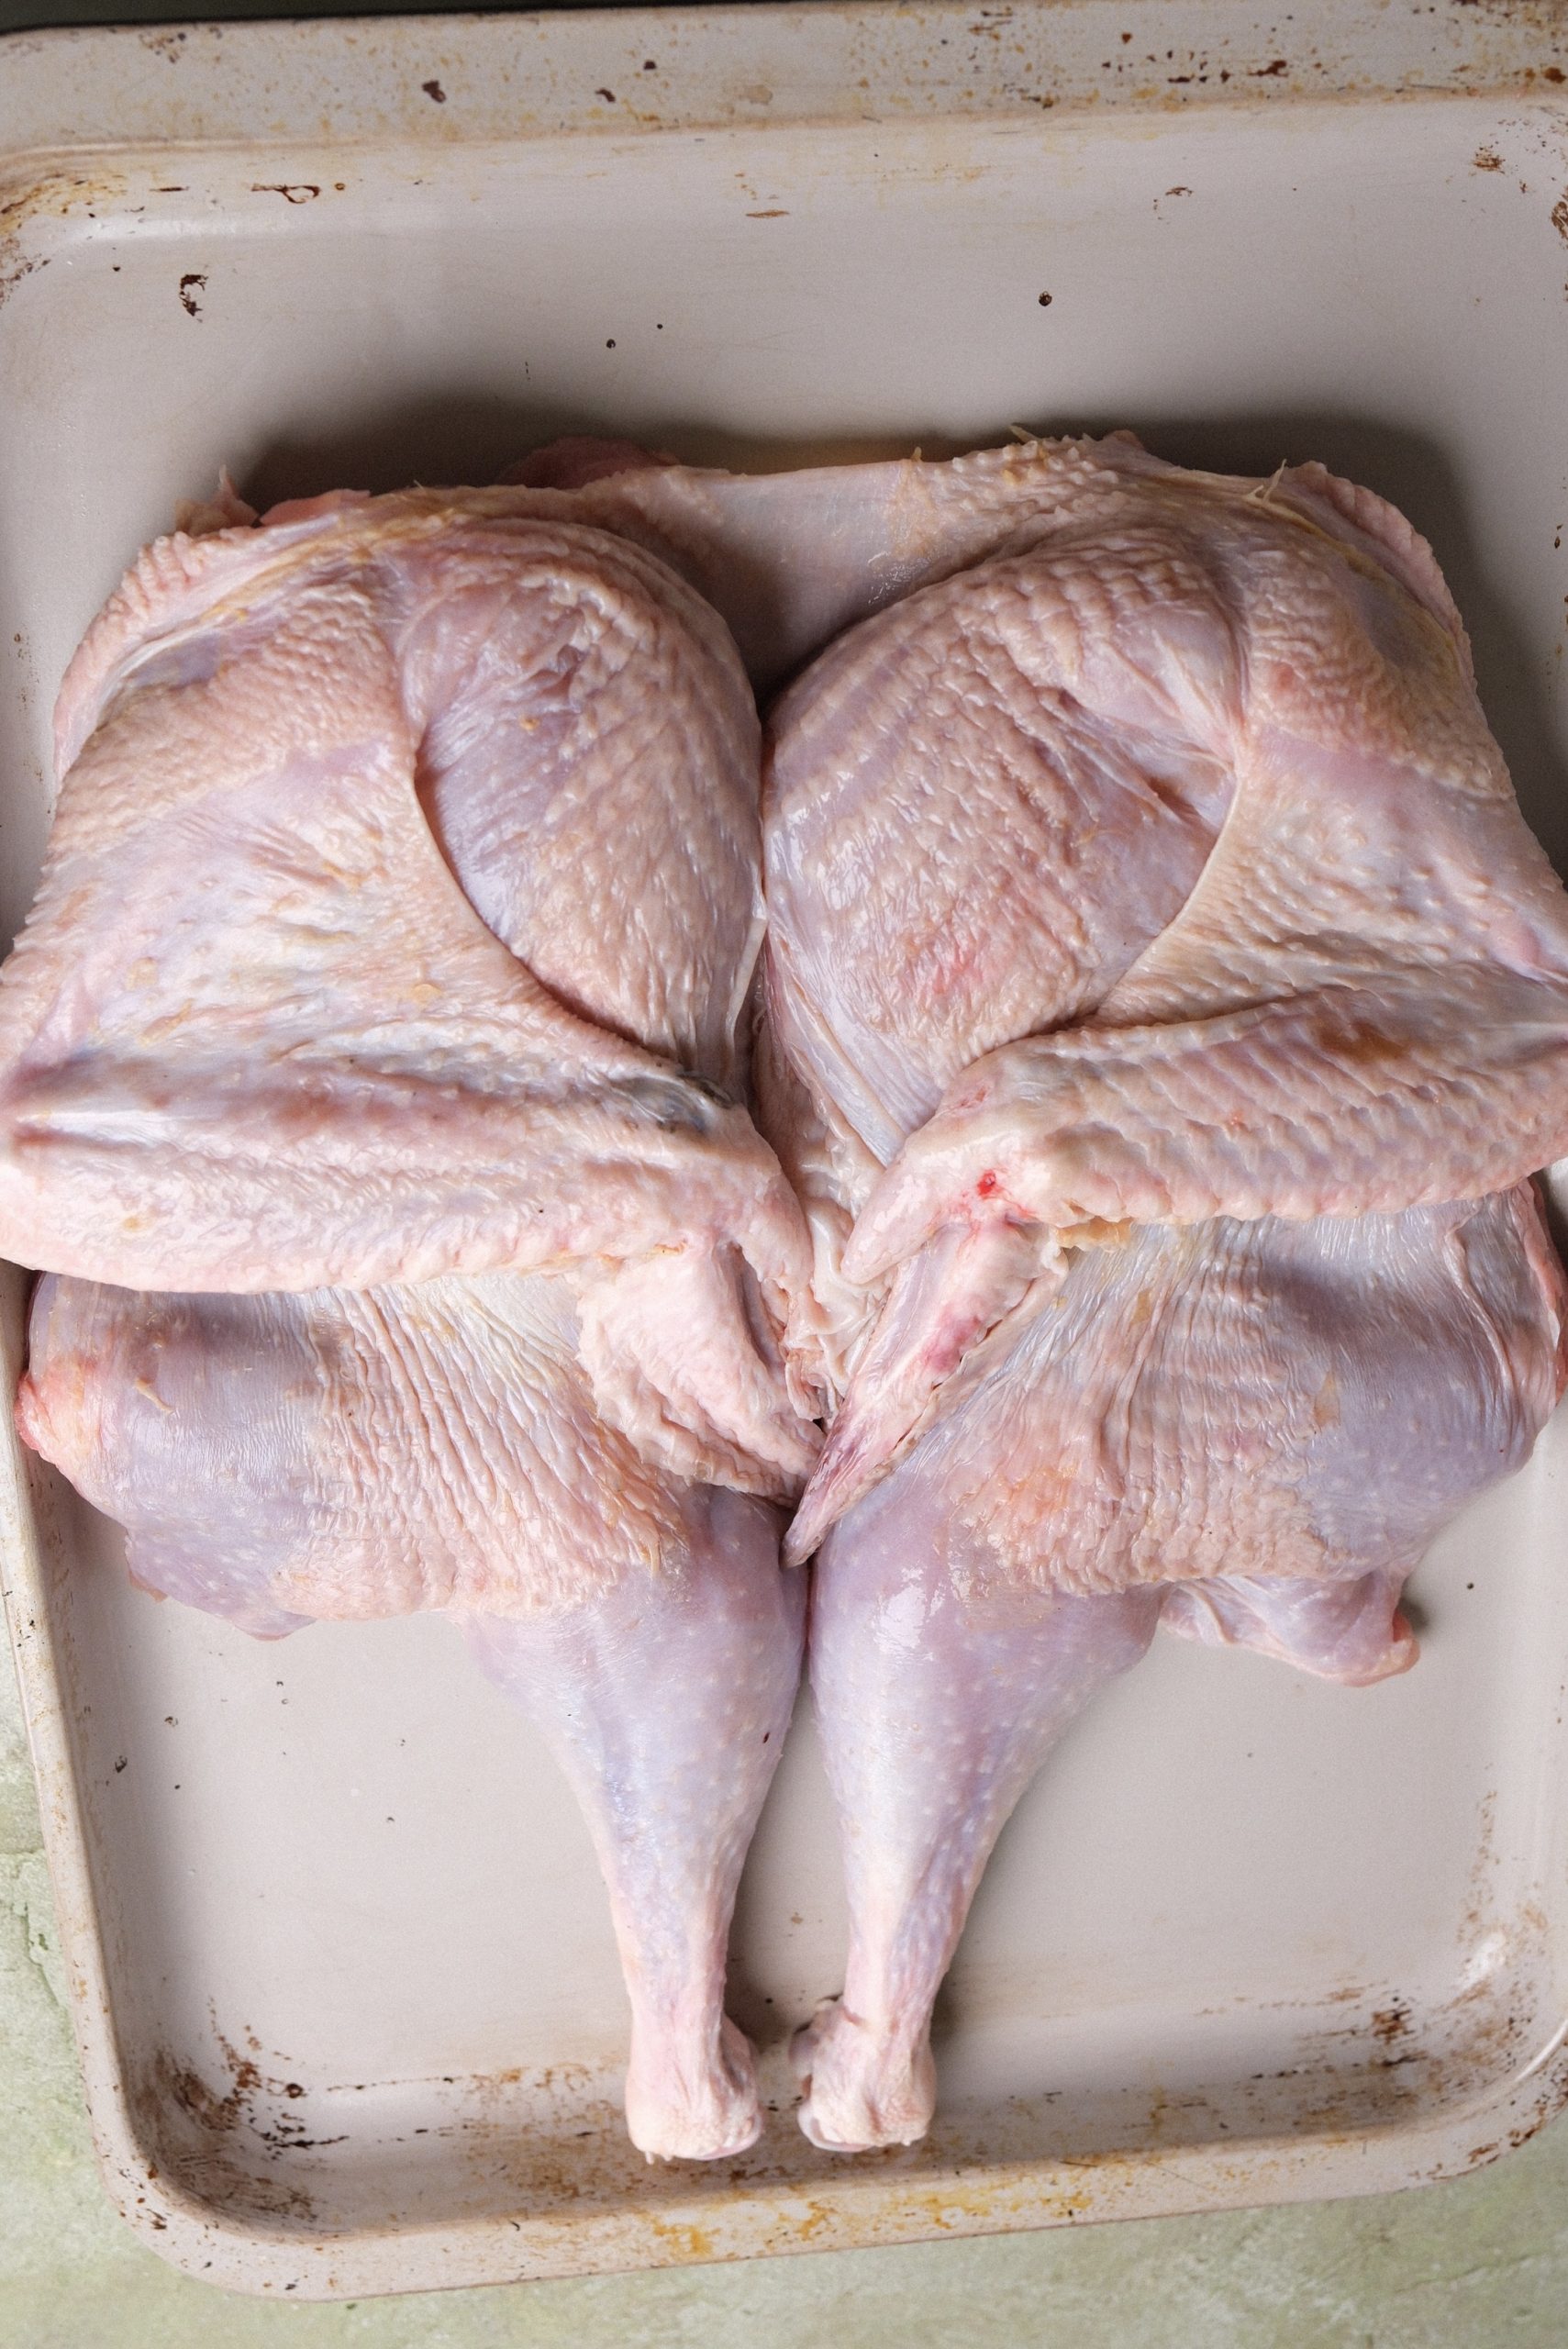
Tomorrow: herb butter and buttered cheesecloth
The turkey is already generously seasoned with salt, so I will not add more tomorrow. I am making an unsalted herb butter with orange zest, garlic, rosemary, sage, thyme and black pepper. Some will go beneath the skin, directly over the breast and thigh meat. The rest will be melted and used to soak the cheesecloth.
I will lay the buttered cheesecloth over the exposed skin at the beginning of roasting. The cloth holds a layer of butter and herbs against the surface, but it also shields the skin from direct heat. I will remove it once the cloth is deep golden and the skin beneath it has begun to color, then finish the turkey uncovered so the skin can brown and crisp.
I divide the butter before touching the raw turkey. One clean portion is reserved for melting and soaking the cheesecloth. This keeps raw poultry juices out of the butter that will be handled later.
Use temperature to judge doneness
A partially deboned turkey should cook faster than an intact bird of the same original weight, so a standard whole-turkey timetable is only a rough reference. I will begin checking early with an instant-read thermometer and record the actual oven temperature, cheesecloth timing and total roast time for this bird.
The USDA safe minimum for turkey is 165°F (74°C). Check the thickest part of each breast, the innermost part of each thigh beside the retained bone and the innermost part of each wing. Do not let the thermometer tip touch bone. Every tested point must reach the safe temperature.
After roasting, let the turkey rest before carving so the juices settle and the surface heat evens through the meat. The final resting time will be added after tomorrow’s roast.
Carving without the rib cage
At the table, remove the legs at the hip joints and separate the thighs from the drumsticks. Remove the wings at the shoulder joints. The breast meat is already boneless, so it can be lifted in two broad sections or sliced where it rests, then transferred directly to the platter.
There is almost no carving mess and no hidden meat left between the ribs. The frame was cleaned while the turkey was raw, when it was easy to see the bones and save every useful trim for stock.
Use the removed frame
The removed carcass, neck and giblets can be browned and simmered into a rich stock for gravy while the turkey dry-brines. This turns what might otherwise be tossed after dinner into one of the foundations of the meal, and the gravy can be nearly finished before the turkey reaches the oven. If the bones have been salted, taste the stock before adding any additional salt. Keep the liver separate because its stronger flavor and fine texture can cloud a long-simmered stock.
What I am serving with it
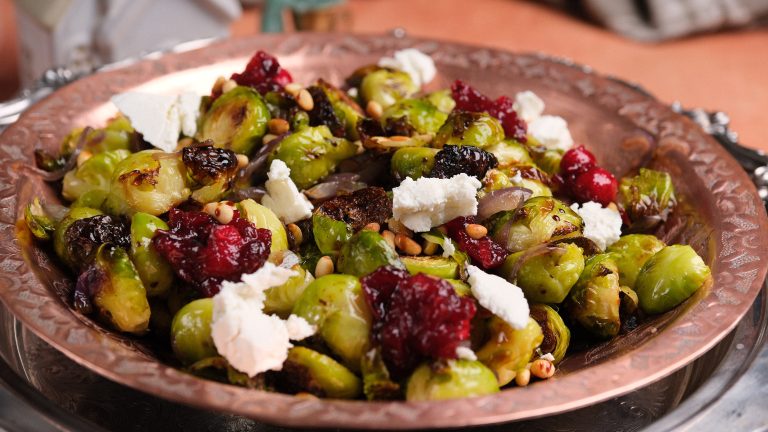
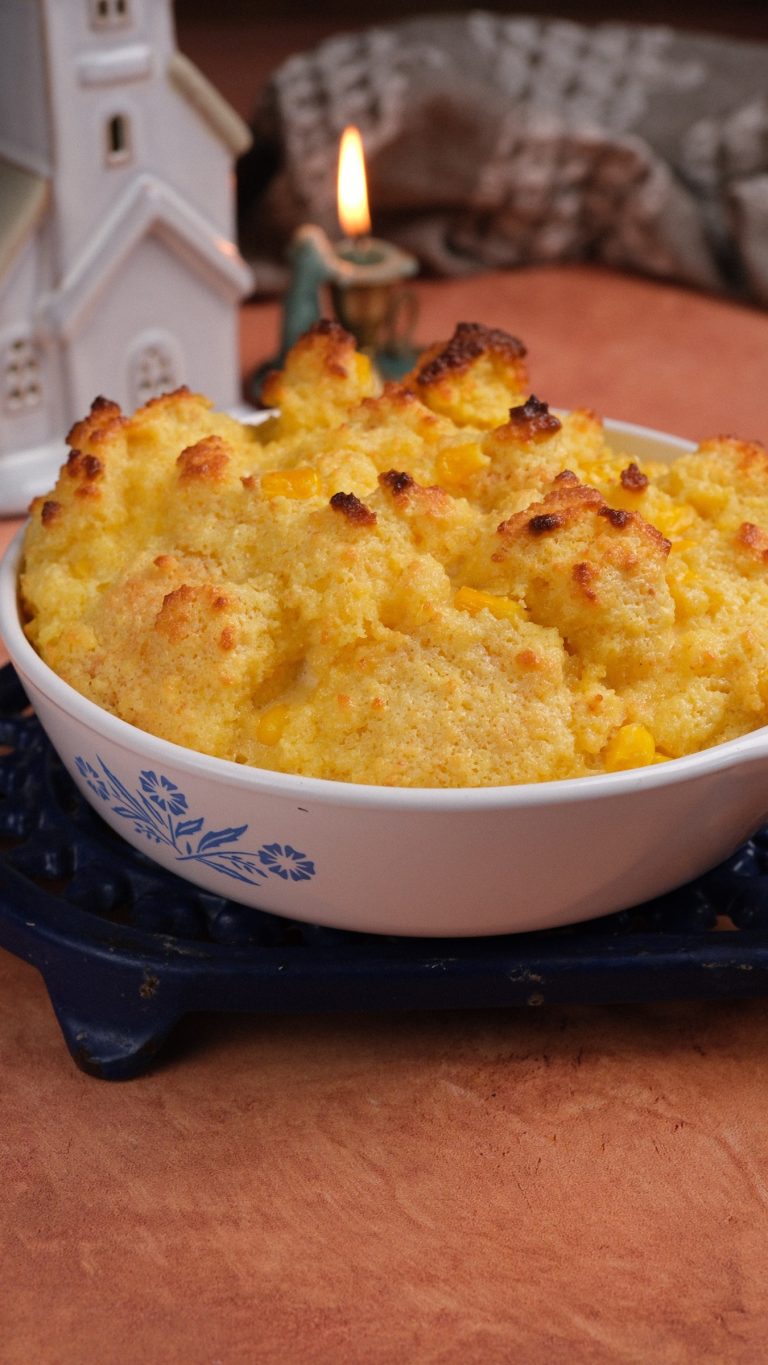
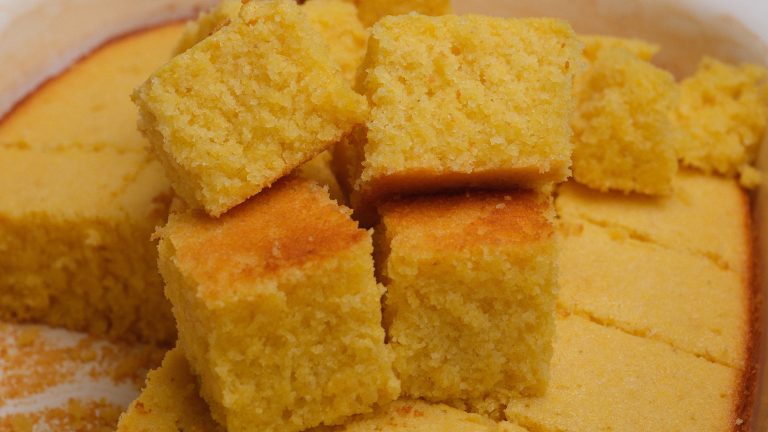
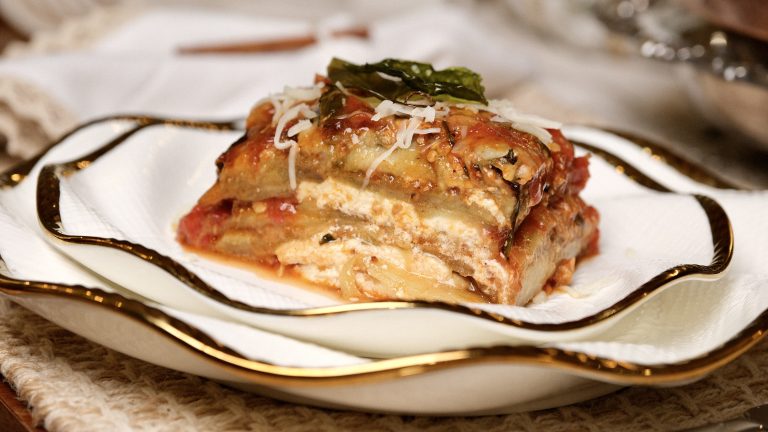
This turkey will sit at the center of my Thanksgiving table with cranberry, orange and port sauce, roasted Brussels sprout salad and chunky cornbread pudding.
Food safety: Keep raw turkey refrigerated at 40°F (4°C) or below, prevent its juices from contacting ready-to-eat food, wash hands and tools with hot soapy water after handling it, and do not wash raw poultry. Use a food thermometer to verify 165°F (74°C) in the thickest breast meat and the innermost thigh and wing areas. See the USDA turkey temperature guidance, USDA refrigeration guidance for brined poultry and USDA guidance on washing poultry.